

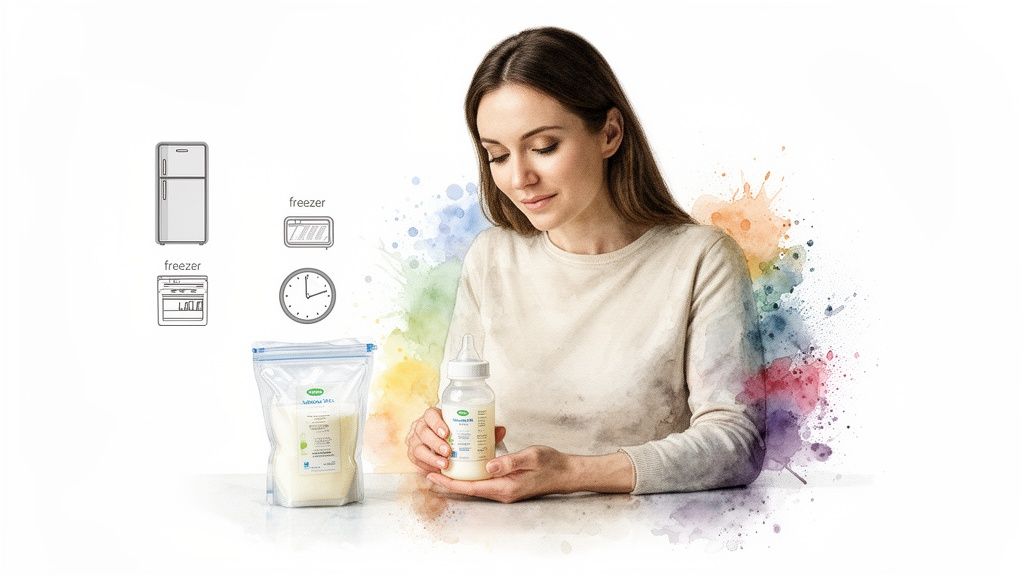
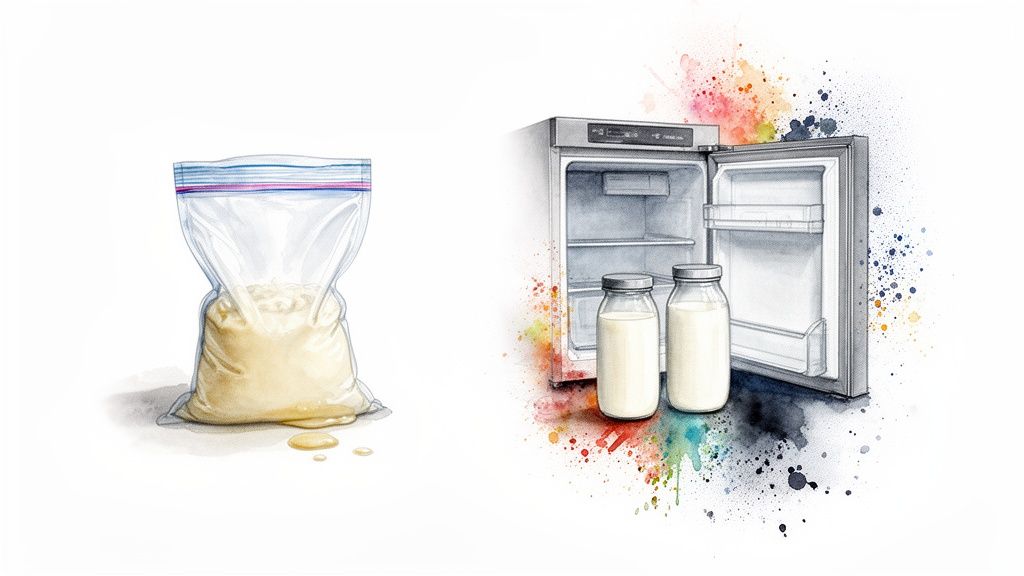
Storing breast milk safely is all about your timeline. For short-term use, clean bottles or bags in the refrigerator are perfect for up to 4 days. If you're building a longer-term stash, milk can be kept in a standard freezer for up to 6-12 months.
A key tip from experienced moms? Always use the oldest milk first and freeze it in small, 2-4 ounce portions to prevent any of that precious liquid gold from going to waste.
Your Quick Guide to Perfect Milk Storage
Welcome, mama! Figuring out how to store breast milk can feel like one more overwhelming task on your plate, but I promise it's simpler than it looks. Think of this as your friendly, stress-free guide to getting it right from the start.
We'll walk through the best practices for storing your milk, so you can be confident every drop is safe, nutritious, and ready for your little one. Let’s make this part of your journey easy, giving you more peace of mind and time for those sweet baby cuddles.
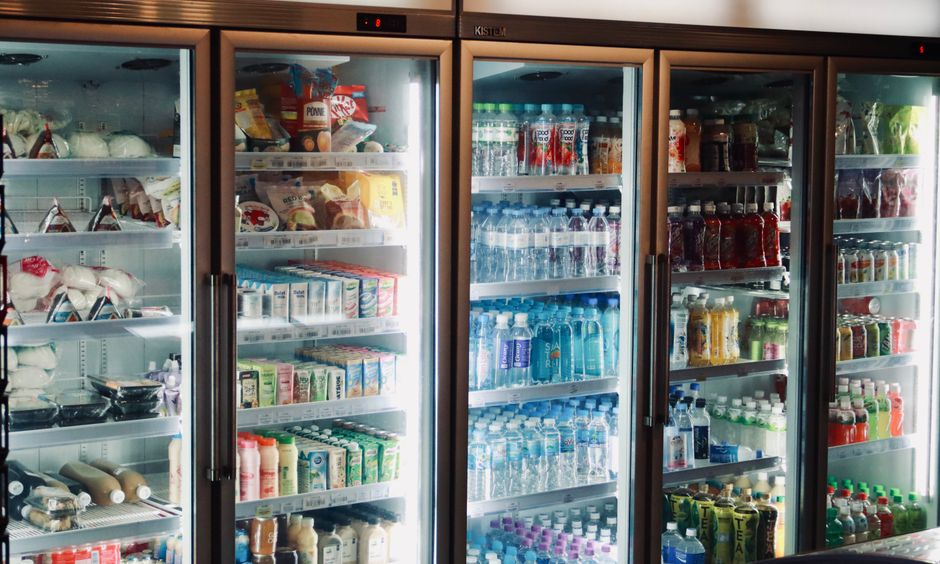
Storage bags, bottles, sterilizers
Store every drop, safely
Take 15% off at checkout, applied automatically when you shop through this link.
Shop with HAPPYSPRING →Free US shipping over $100. Code applies automatically at checkout.
From Nipple Comfort to a Freezer Stash: A Mom's Story
For so many of us, the path to building a milk stash starts with getting comfortable with breastfeeding itself. Let’s talk about Sarah, a new mom who was really struggling with painful, cracked nipples. The thought of nursing or even pumping was just awful, and her dream of a freezer stash felt totally out of reach.
Just as she was about to throw in the towel, a friend suggested she try Moogco Silver Nursing Cups. Sarah was skeptical but willing to try anything. The natural, soothing properties of the silver nursing cups gave her almost instant relief, and she didn't have to deal with any sticky creams.
That small change was a complete game-changer. Once the pain was gone, she could finally nurse and pump comfortably, and that freezer stash for her return to work started to grow. Sarah’s story is a great reminder that finding the right support—whether it's a tool like Moogco Silver Nursing Cups or a friend to lean on—can make all the difference.
Foundational Storage Principles
Once your pumping journey is underway, storing that milk correctly is the next big step. The number one rule is keeping the temperature consistent. This is what protects all those amazing nutrients and stops bacteria from growing.
Pro Tip: Always tuck your milk away in the back of the fridge or freezer, never in the door. The temperature in the door swings up and down every time it’s opened, and that’s not good for your liquid gold.
It’s not just about organization; having a reliable appliance is a huge piece of the puzzle. For example, taking the time in choosing the right refrigerator can make a world of difference. A good-quality fridge that holds a steady, cold temperature is exactly what your milk needs to stay perfectly preserved.
For a quick reference, here are the official CDC guidelines. You can even print this out and stick it on your fridge!
Breast Milk Storage Guidelines At a Glance
| Storage Location | Temperature | Maximum Storage Time |
|---|---|---|
| Countertop | Room Temperature (up to 77°F or 25°C) | Up to 4 hours |
| Refrigerator | 40°F (4°C) or colder | Up to 4 days |
| Freezer (Standard) | 0°F (-18°C) or colder | Best within 6 months; acceptable up to 12 months |
| Deep Freezer | -4°F (-20°C) or colder | Best within 6 months; acceptable up to 12 months |
Remember, these guidelines are for healthy, full-term babies. If you have a premature or hospitalized infant, your care team might have slightly different recommendations, so always check with them first.
Choosing the Best Containers for Your Liquid Gold
Once you start pumping, you’ll quickly find that the container you pick is the first line of defense in protecting all those amazing nutrients in your milk. Think of it as the ultimate bodyguard for your liquid gold! Choosing the right storage solution is really about finding a balance between safety, convenience, and what fits your lifestyle.
Let’s walk through the most popular options—storage bags, plastic bottles, and glass containers—so you can find the perfect match for your family. Each one has its own quirks, and what’s a lifesaver for one mom might not be the best fit for another.
Breast Milk Storage Bags: A Busy Mom’s Best Friend
For so many of us, pre-sterilized, single-use breast milk storage bags are the clear winner. They were pretty much designed with the needs of busy, modern families in mind. They’re just so convenient, built for one-time use, and take up hardly any space.
You can tell how popular they are just by looking at the numbers. The global market for these bags was valued at a whopping USD 276.2 million and is on track to more than double by 2034. Why? Because companies are listening to what parents need and adding smart features like leak-proof seals and easy-pour spouts. You can read more about these trends over at gminsights.com.
Here’s why so many moms love them:
- Space-Saving: You can freeze them flat, creating these neat little "bricks" of milk that you can stack. This is a game-changer for saving precious freezer real estate.
- Pre-Sterilized: They’re ready to go right out of the box, which means one less thing to clean when you’re already short on time.
- Cost-Effective: Bags are usually the most budget-friendly way to build up a big freezer stash.
Plastic and Glass Bottles: Reusable and Reliable
Reusable bottles, whether plastic or glass, are another fantastic choice, especially for milk you plan on using within a few days from the fridge.
Plastic bottles are super common because they're lightweight, pretty tough, and you can find them everywhere. The absolute most important thing to look for is that they are BPA-free. This is a non-negotiable—BPA is a chemical you definitely want to keep far away from your baby's milk. They're also great because you can often pump directly into the same bottle you'll store and feed from, which simplifies the whole process.
Glass bottles are what many lactation consultants consider the gold standard for purity. Glass is completely inert, which means there's zero risk of any chemicals leaching into your milk. They’re also eco-friendly, a breeze to clean, and can be used over and over again. The downside? They are heavier, a bit more expensive, and, of course, they can break, which is a valid worry for tired parents.
For more great tips on getting all your gear in order, check out our complete guide on breast pumping supplies.
A Mom’s Success: Finding Her Pumping Groove
Let's talk about Jessica. She was determined to breastfeed but was dealing with so much nipple pain that the thought of pumping made her cringe. She desperately wanted to build a stash before going back to work, but the discomfort was so bad she could barely get through a single session. Her dream of a freezer packed with neatly stored milk felt totally out of reach.
A friend suggested she try Moogco Silver Nursing Cups. Jessica was skeptical but willing to try anything. The natural, soothing relief she got from the silver nursing cups was a complete turning point. Her soreness healed without any messy creams, and pumping finally became comfortable.
This one simple change allowed her to establish a routine, and soon she was filling bag after bag with her liquid gold. Jessica's story is a beautiful reminder of how finding the right support, like the comfort from Moogco Silver Nursing Cups, can make all the difference in turning a painful struggle into a true success story.
A Step-by-Step Guide to Pumping and Storing Milk
Turning your hard-won pumped milk into a neatly organized stash can feel like a big project. But once you get the hang of it, it's a simple, repeatable process. The whole journey from pump to freezer is all about creating a clean, safe workflow to protect every single precious drop. And it all starts before you even turn on the pump.
The golden rule? Cleanliness.
Think about it like you're a chef in your own kitchen—you'd never dream of making dinner without washing your hands first. Same idea here. Always, always wash your hands with soap and warm water for at least 20 seconds before you touch your pump or your milk. It’s the easiest first step to keep pesky germs away.
Just as important is making sure your equipment is squeaky clean. Breast pump parts can be a sneaky hiding spot for bacteria if they aren't cleaned thoroughly after every single session. Get into a solid routine of washing, sanitizing, and letting your pump parts air-dry. It gives you peace of mind and keeps that liquid gold safe for your baby. For a deep dive, check out our guide on how to clean your breast pump the right way.
The Art of Labeling and Portioning
Okay, you've finished pumping. The very next thing you should do is label that bag or bottle. It might seem like a tiny, skippable step when you're tired, but trust me on this—it's absolutely essential for safe milk storage. Grab a waterproof marker and clearly write the date the milk was expressed (not the day you freeze it!) and the volume you pumped. Future you will be so grateful you did this, as it's the only way to make sure you're using the oldest milk first.
Now, let's talk about portions. It’s so tempting to fill a storage bag to the brim, but freezing in smaller, more practical amounts is one of the smartest things you can do.
- Standard Portions: Try freezing most of your milk in 2 to 4-ounce servings. This is a pretty standard feeding size for most babies, and it dramatically cuts down on waste.
- "Snack" Portions: It's also a great idea to freeze a handful of smaller 1-ounce portions. These are absolute lifesavers for when your baby just needs a little top-up, or later on when you want to mix a bit of milk into their first solid foods.
Remember this: once your baby has started a bottle, any milk left over must be used within two hours. Freezing in smaller amounts helps you avoid the heartbreak of pouring your liquid gold down the drain.
Combining and Cooling Your Milk
If you’re pumping multiple times a day, you can definitely combine milk from different sessions to save space. There's just one crucial rule you have to follow: never add warm, freshly pumped milk directly to milk that's already chilled or frozen.
Think of it like adding a shot of hot espresso to a glass of iced latte—it instantly warms everything up. For breast milk, that temperature change can invite bacteria to grow. The right way to do it is to chill the newly pumped milk in the fridge first. Once it's the same cold temperature as the milk you already have stored, you can safely combine them. Just be sure to label the final container with the date of the oldest milk in the mix.
More and more parents are relying on a stash of pumped milk, and the demand for good storage products has skyrocketed. The global market for breast milk storage products was valued at a whopping USD 457.9 million in 2023 and is expected to more than double by 2033. This just shows how dedicated moms everywhere are to providing breast milk for their little ones. You can find more details on this trend over at Spherical Insights.
To give you a better idea of your options, this infographic breaks down the most popular containers people use.
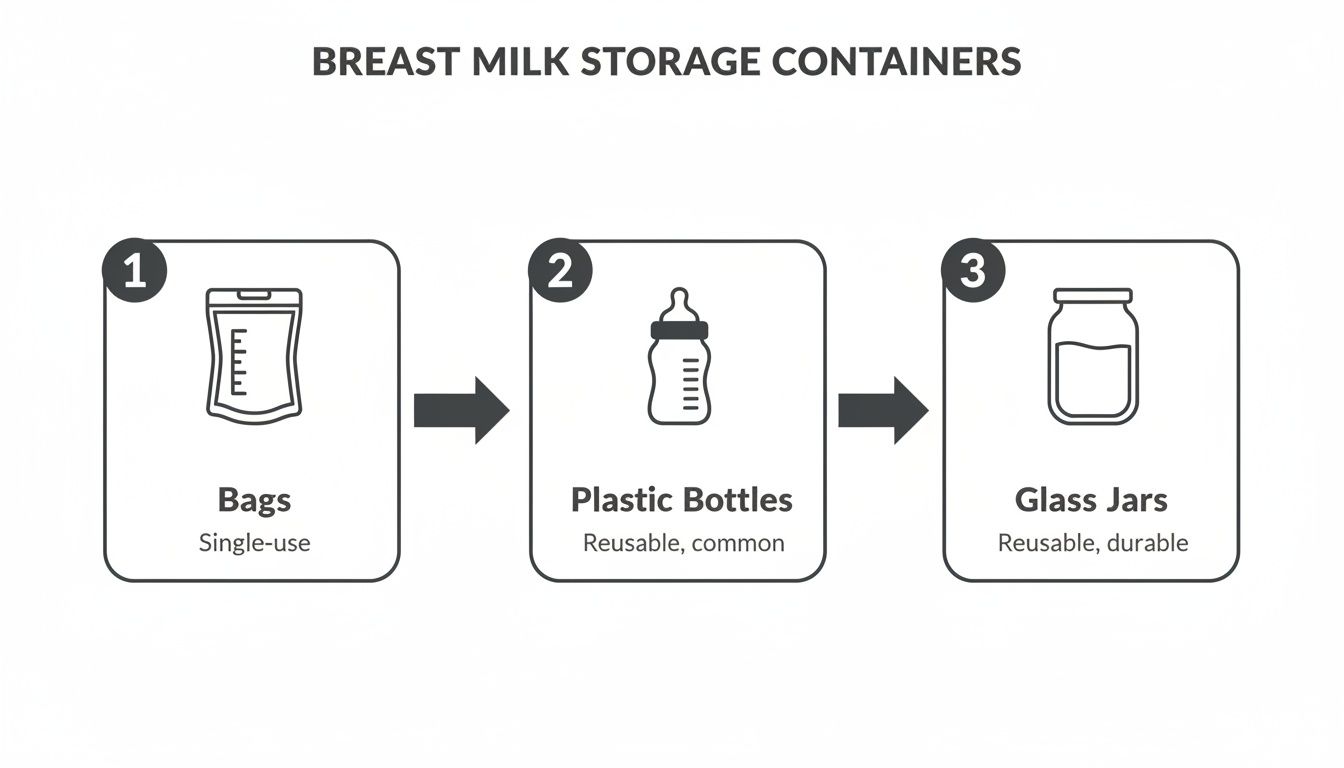
It highlights the top three choices—bags, plastic bottles, and glass jars. Each one has its place in building a flexible and reliable storage system that works for you.
How to Thaw and Warm Breast Milk the Right Way
You’ve put in the hard work of pumping and carefully storing your milk—now it's time to get it ready for your baby. Safely thawing and warming that liquid gold is just as crucial as how you store it. This last step is what protects all those precious nutrients and antibodies you worked so hard to create.
The golden rule here is to be gentle. Think of your breast milk as a delicate, living substance. Any harsh or sudden temperature changes, especially the kind from a microwave, can destroy its beneficial components and create dangerous hot spots that could easily burn your baby’s sensitive mouth.
Embrace the FIFO Method
Before you just grab the first bag you see, it's a great idea to adopt the "first in, first out" (FIFO) method. It’s a simple organizational trick that ensures you always use up your oldest milk first, which is fantastic for minimizing waste and keeping your freezer stash fresh and rotated.
All you have to do is place your newly pumped milk at the back of the freezer and shift the older bags toward the front. That way, you’re naturally grabbing the milk that needs to be used soonest.
Safe Thawing Techniques
When it's time to thaw frozen milk, remember that slow and steady wins the race. Trying to rush the process with high heat is a no-go, as it can degrade the very nutrients your baby needs.
Here are the three safest ways to do it:
- Overnight in the Fridge: This is the best method, hands down. Just move the frozen bag or bottle into the refrigerator and let it thaw overnight. It’s slow, gentle, and perfectly preserves the milk's quality.
- Under Lukewarm Running Water: If you need it thawed a bit quicker, you can hold the sealed container under a stream of lukewarm—not hot!—running water.
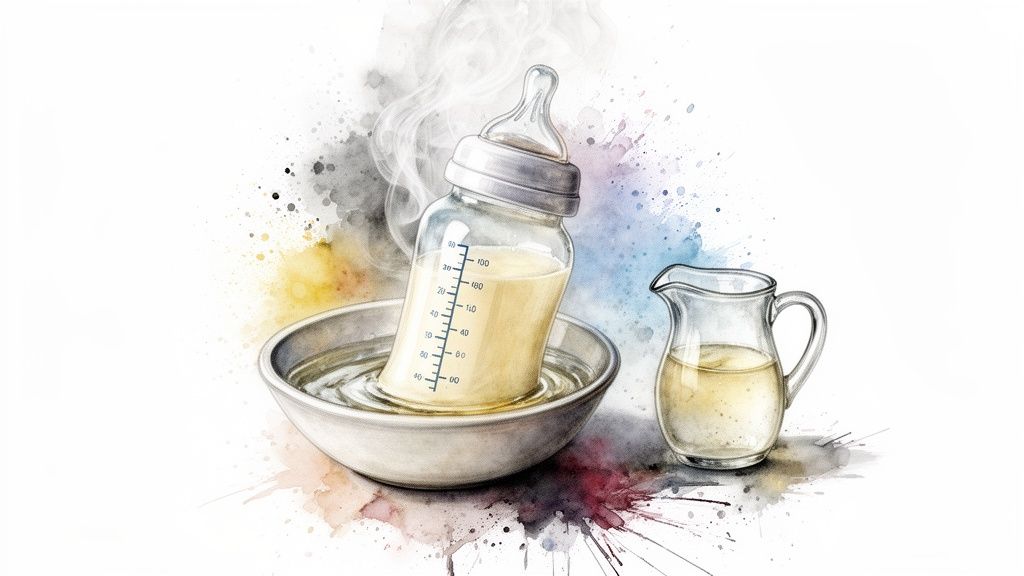
- In a Bowl of Warm Water: Another great option is to place the sealed milk container into a bowl of warm water. It should be fully thawed in about 20 minutes. Just be sure to never use boiling water.
Crucial Safety Warning: Please, never use a microwave to thaw or warm breast milk. It creates uneven heating and dangerous hot spots. Plus, it actually breaks down the vital enzymes and antibodies in the milk, defeating the purpose of all your hard work.
Warming Milk for Feeding
Once the milk is thawed, you might find your baby is perfectly happy to drink it chilled or at room temperature. But if your little one prefers it warm, you can use the same bowl-of-warm-water method. Let the bottle sit for a few minutes until it feels like it’s at body temperature.
A quick and easy way to check is to squirt a few drops onto the inside of your wrist. It should feel comfortably lukewarm, never hot. If you're weighing your options, you can check out our honest guide on whether you need a bottle warmer.
After you've thawed the milk, keep these simple rules in mind:
- Once thawed, refrigerated milk needs to be used within 24 hours.
- Never, ever refreeze thawed breast milk. Once it's thawed, it has to be used.
Finding Comfort on Your Breastfeeding Journey
Every mother's feeding journey is its own unique story, filled with beautiful moments and, let's be honest, a few unexpected hurdles. While learning the ins and outs of breast milk storage is a huge piece of the puzzle, the whole process really starts with something more fundamental: your own comfort.
Pumping and nursing can be demanding, and if you’re in pain, the very idea of building up a milk stash can feel completely overwhelming. This is where finding the right support, like Moogco Silver Nursing Cups, can make all the difference in keeping your breastfeeding journey going strong.
A Success Story: How Silver Nursing Cups Saved One Mom's Journey
Let's talk about Chloe, a new mom who was deeply committed to breastfeeding but was brought to tears by excruciating nipple pain. Every latch felt like fire, and she began to dread feeding time. She was so close to giving up on her breastfeeding goals altogether when another mom in her support group told her about Moogco Silver Nursing Cups.
Feeling she had nothing to lose, Chloe tried them. The relief was almost instant. The natural, soothing properties of the pure silver nursing cups calmed her sore skin and allowed her to heal between feedings without messy creams. The cups acted as a protective shield, preventing any further irritation from her bra or clothing. This simple solution was the turning point that allowed her to continue breastfeeding pain-free. Chloe’s success story is a powerful testament to how finding the right comfort and support can help you overcome challenges and keep breastfeeding.
From Pain to a Plentiful Stash
Once the discomfort was managed, Chloe’s entire breastfeeding journey was transformed. She started to genuinely enjoy nursing her baby again and could finally pump effectively enough to build up her supply.
What once felt like an impossible goal—a neatly organized freezer stash—was now becoming a reality, one comfortable pumping session at a time.
Chloe's story is such a powerful reminder that your comfort matters. You can't pour from an empty cup, and taking care of your own physical well-being isn't selfish—it's absolutely essential for reaching your breastfeeding goals and caring for your baby.
Taking care of yourself is a critical part of caring for your little one. Beyond just the physical side of things, your overall well-being is key. Many mothers find comfort in natural remedies, like exploring options for using essential oils for anxiety relief to create a calmer, more relaxing pumping or nursing environment.
The right support tools can make all the difference. For Chloe, the Moogco Silver Nursing Cups weren't just a product; they were the key that unlocked a positive and successful breastfeeding experience.
If you're struggling with discomfort, please know that there are solutions out there. You can learn more in our detailed guide on nipple care during breastfeeding. Finding what works for you can help you push past the challenges and proudly continue on your path.
Common Breast Milk Storage Mistakes to Avoid
Even with the best intentions, tiny missteps in your storage routine can affect the quality and safety of your milk. Knowing what not to do is just as important as knowing what to do. Let's walk through the most common pitfalls so you can steer clear of them and make sure every drop of that liquid gold is perfect for your baby.
Building a milk stash is a serious accomplishment. In fact, moms in North America are leading the way, making up 40% of the global $461.2 million market for breastmilk storage bags and bottles. That's a regional value of about $184 million, largely because awareness is so high—most parents know milk is good for up to four days in the fridge and can last up to a year in the freezer.
Mixing Temperatures Incorrectly
One of the easiest mistakes to make is combining milk of different temperatures. I get it—it’s so tempting to top off a bottle of chilled milk from the fridge with the warm milk you just pumped. But please, don't do it!
When you add warm liquid to a cold batch, you raise the overall temperature, creating a cozy little environment where bacteria can multiply.
The Golden Rule: Always, always cool your freshly pumped milk down in the fridge first before you combine it with an existing container of chilled milk. They need to be the same temperature before they can hang out together.
Mishandling Thawed Milk
Once you've thawed frozen breast milk, a new countdown begins. A common and risky mistake is trying to refreeze it after it has fully thawed. This is a huge no-no, as it dramatically increases the risk of bacterial growth and breaks down the milk's precious nutrients.
- The 24-Hour Rule: Milk that you've thawed in the refrigerator should be used within 24 hours.
- The 2-Hour Rule: If you've brought that milk to room temperature or warmed it up, it needs to be used within 2 hours.
- No Refreezing, Ever: Once it’s thawed, it can never go back into the freezer. This is exactly why freezing in smaller, 2-to-4-ounce portions is a game-changer for preventing waste.
Choosing the Wrong Storage Location
Where you store your milk is just as critical as what you store it in. Popping bottles or bags in the refrigerator or freezer door feels convenient, but it's the absolute worst spot for your milk. The temperature there swings up and down every time you open the door, which can mess with the milk's stability.
For the safest storage, always place your milk in the back of the main compartment of the fridge or freezer. This is where the temperature is coldest and most consistent, giving your liquid gold the stable environment it needs.
Finally, a quick reminder that all of this starts with clean equipment. Making sure your pump parts and bottles are properly sanitized is a foundational step you just can't skip. For a complete walkthrough, our guide offers easy methods for sterilizing baby bottles and pacifiers.
By sidestepping these common errors, you can feel confident that your storage system is safe, effective, and protecting every last drop.
Got Questions About Storing Breast Milk? We’ve Got Answers.
As you get the hang of pumping and storing, you're bound to run into some specific questions. This is your go-to guide for those "what if" moments, packed with clear, simple answers to the things parents ask us most. Think of it as a little boost of confidence for handling those unique situations.
Let's jump right in.
A Mom’s Success Story
Before we tackle the FAQs, I want to share a quick story from a mom named Emily. Her experience is a powerful reminder that the whole storage journey really begins with feeling comfortable while nursing and pumping. Emily was dealing with some serious nipple pain, which made the thought of building up a milk stash feel completely overwhelming. Every single pumping session was a painful chore.
A friend suggested she try Moogco Silver Nursing Cups, and the relief was almost instant. The natural healing power of the silver nursing cups soothed her skin without any messy creams, giving her a chance to heal between feedings. That one small change completely transformed her experience, allowing her to pump comfortably and build the freezer stash she'd been dreaming of. Her story really shows how finding the right support, like the gentle care from Moogco Silver Nursing Cups, can help you push past challenges and reach your breastfeeding goals.
Can I Mix Milk From Different Pumping Sessions?
Yes, you definitely can! There's just one crucial rule to follow: you have to cool down your freshly expressed milk in the fridge before you add it to a container of already cold or frozen milk.
Think of it like this—pouring warm milk into a cold batch will raise the overall temperature, which could invite bacteria to grow. Once the new milk is chilled to the same temperature as the stored milk, go ahead and combine them. Just be sure to label the container with the date of the oldest milk in the mix.
What If My Baby Doesn't Finish a Bottle?
This happens all the time! Once your baby’s mouth touches the bottle, bacteria from their saliva mixes into the milk. Because of this, any milk left over from a feeding should be used within two hours.
Unfortunately, that means you can’t pop it back in the fridge for the next feeding. This is exactly why freezing your milk in smaller portions, like 2 to 4 ounces, is one of the smartest strategies for the best breast milk storage. It’s a simple trick that helps cut down on waste.
How Do I Store Breast Milk When Traveling?
When you’re away from home, an insulated cooler with frozen ice packs will be your best friend. Freshly pumped milk can stay safe in a cooler like this for up to 24 hours.
As soon as you get to where you're going, you’ll want to either use the milk right away, get it into a refrigerator, or transfer it to a freezer. If you're flying, give the latest TSA guidelines a quick check before you head to the airport. The good news is that breast milk is considered a medically necessary liquid, so you’re allowed to bring it in your carry-on in amounts larger than the usual 3.4-ounce limit.
At Moogco Baby, we know your feeding journey is one-of-a-kind. We’re here to support you every step of the way with products designed to make it as comfortable and successful as possible.
Discover our full collection of thoughtfully curated essentials at https://www.moogcobaby.com.
Related Guides You Might Love
- How to Increase Milk Supply Fast A Practical Guide for Nursing Moms
- How to Increase Milk Supply Fast A Practical Guide for Nursing Moms
- Your Guide to Breast Pump Insurance and Getting a Free Pump
- A New Mom’s Guide to Breast Pumping Supplies
- A New Mom’s Guide to Breast Pumping Supplies
- Your Guide to Breast Pump Insurance and Getting a Free Pump
- A Mom's Guide to Willow Silver Nursing cups
- A Mom's Guide to Willow Silver Nursing cups
- The Ultimate Guide to the Best Stain Remover for Baby Clothes
- Your Essential Guide to Building a Baby First Aid Kit
Bring this guide home with 15% off.
Use code HAPPYSPRING for 15% off →
Frequently Asked Questions
Can I store breast milk in regular plastic containers from my kitchen?
It's best to avoid regular kitchen containers and stick with containers specifically designed for breast milk storage. Only use bottles or bags that are explicitly labeled as BPA-free and intended for infant feeding. Regular food containers may not be sterile and could contain chemicals that aren't safe for your baby's milk.
Should I wash storage bags before using them?
No, you don't need to wash pre-sterilized breast milk storage bags before use. They come ready to go straight out of the package, which is one of their biggest convenience factors. Just make sure your hands are clean when handling them, and you're all set.
How do I label my breast milk bags correctly?
Always write the date and time you pumped on each bag using a permanent marker. If your baby goes to daycare or you have a caregiver, add your baby's name too. This helps you use the oldest milk first and prevents any mix-ups, especially in a shared fridge situation.
Is it normal for frozen breast milk to look different when thawed?
Yes, completely normal! Frozen and thawed breast milk often separates into layers, with the fat rising to the top. It might also look slightly yellowish or even bluish, which is perfectly fine. Just gently swirl the bottle or bag to mix it back together before feeding.
Can I refreeze breast milk that has been thawed?
No, once breast milk has been fully thawed in the refrigerator, you should never refreeze it. The refreezing process can break down important nutrients and increase the risk of bacterial growth. If you thawed more than you need, you can keep it in the fridge for up to 24 hours, but after that, it needs to be discarded.
What's the best way to organize my freezer stash?
The best system is to lay bags flat when freezing so they stack like little books, then organize them with the oldest dates in front. Some moms love using small bins or baskets to keep everything tidy and easy to grab. Always pull from the front so you're rotating through your stash and using the oldest milk first.
Do I need to sterilize reusable bottles after every use?
For daily use, a thorough wash with hot, soapy water and a bottle brush is usually enough. Most experts recommend sterilizing bottles once a day or a few times a week, especially for newborns under three months. You can sterilize by boiling, using a steam sterilizer, or running them through the dishwasher on a hot cycle.
How much milk should I store in each container?
The sweet spot is 2 to 4 ounces per bag or bottle. This portion size minimizes waste because you're not thawing more than your baby will likely drink in one feeding. As your baby grows and takes bigger bottles, you can adjust and store slightly larger amounts, but starting small is always the safest bet.
From Moogco Studio
Printable and personalized nursery essentials. Designed by moms for moms.


About the Editor
Eda Ulger is the editor at Moogco Baby and a mom of two. She curates and edits our guides so every piece is honest, practical, and genuinely helpful for the early days of motherhood.