

When you're preparing for a new baby, some items are nice to have, and others are non-negotiable. A specialized baby bottle cleaning brush absolutely falls into that second category. It’s designed to do one job perfectly: eliminate harmful bacteria that a standard dish brush simply can't handle. This simple tool is your first line of defense in making every feed a safe one.
Why a Dedicated Brush Is a Nursery Essential

In the beautiful chaos of early parenthood, it's tempting to grab your regular kitchen sponge for a quick bottle wash. But those tools just aren't built for the unique shape of a baby bottle. They can’t properly scrub the base, the curved shoulders, or the tiny threads on the bottle collar.
Bottles, bowls, and baby-led picks
Mealtime, simplified
Take $15 off at checkout, applied automatically when you shop through this link.
Shop with BABY15 →Free US shipping over $100. Code applies automatically at checkout.
This is where the real problem starts. Those missed spots allow an invisible film of milk residue to build up. This leftover layer of fat and protein is the perfect breeding ground for nasty bacteria like Cronobacter, which can be incredibly dangerous for newborns and babies with still-developing immune systems.
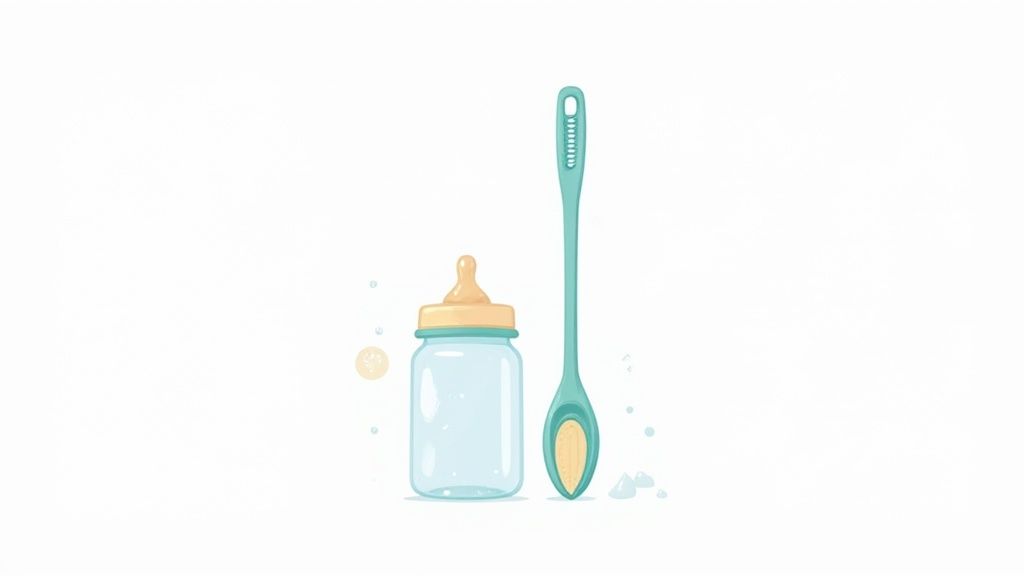
The Anatomy of a Proper Bottle Brush
A purpose-built baby bottle cleaning brush comes with specific features designed to tackle these hygiene risks head-on. To truly appreciate its design, let's break down the key components that make it so effective for keeping your baby's bottles safe and clean.
| Brush Feature | Primary Function | Why It Matters for Hygiene |
|---|---|---|
| Long, Sturdy Handle | Reaches the bottom of tall bottles with ease. | Allows you to apply firm pressure to scrub away stubborn milk film that collects at the base, a common blind spot. |
| Contoured Bristle Head | Cleans curved interior walls and shoulders in one motion. | Ensures no surface is missed, preventing bacteria from colonizing in hard-to-reach areas. |
| Integrated Nipple Cleaner | Cleans the tiny hole and interior of the nipple. | Removes milk residue from the feeding hole without stretching or damaging the delicate silicone, ensuring a safe and consistent flow. |
Each part of the brush plays a critical role in providing a thorough, hygienic clean that general-purpose kitchen tools simply can't match.
Many of the best brushes also include an integrated nipple cleaner, which is a game-changer. This smaller, focused tool is what you need to clear that tiny feeding hole without causing any damage, making sure the nipple is both clean and functioning properly for your baby.
It’s no surprise that more parents are prioritizing these specialized tools. The global market for baby bottle brushes, valued at around USD 744.1 million, reflects a growing awareness of just how important proper infant hygiene is.
The right tool makes all the difference. Using a dedicated brush isn't just about cleaning; it's a fundamental part of creating a safe feeding environment for your little one.
Investing in a quality brush is a small but powerful step. It’s one of those foundational items you’ll find yourself reaching for multiple times a day, which is why it’s a staple on any comprehensive baby essentials checklist. Knowing how to use it gives you peace of mind that every bottle is truly clean, not just one that looks clean.
Your Pre-Wash Routine for a Flawless Clean
What you do right after a feeding can make the difference between a quick wash and a frustrating scrub-a-thon later. Trust me, setting up a simple pre-wash habit is the secret weapon for preventing that stubborn, cloudy milk film, making your baby bottle cleaning brush far more effective.
The first and most important step? A quick rinse. As soon as your little one is done, head to the sink and give the bottle a good rinse with lukewarm water. It's tempting to use hot water, but that can actually "cook" the milk proteins onto the plastic, making them harder to remove. A lukewarm rinse washes away the fresh stuff before it has a chance to dry.
Always Disassemble Everything
Next up, take the bottle completely apart. I know it’s a step that tired parents want to skip, but it’s absolutely non-negotiable for getting a truly hygienic clean. Every single piece needs to be separated before it hits the water.
Before you wash, you should always have these separate parts laid out:
- The bottle itself
- The nipple (make sure to push it out from the collar)
- The collar or screw ring
- Any anti-colic inserts, valves, or travel discs
Milk is incredibly sneaky and loves to hide in the tiniest crevices, like the threads of the screw ring or deep inside an anti-colic valve. If you leave the bottle assembled, those hidden spots become a perfect breeding ground for bacteria. Proper handling is key, and you can find more great tips for cleaning up after handling breast milk to keep your entire feeding setup safe.
Set Up a Dedicated Cleaning Station
One of the best habits you can get into is using a dedicated wash basin just for your baby's gear. Think about it—your kitchen sink sees everything from raw chicken to dirty vegetables. Washing bottles directly in there is just asking for cross-contamination.
Using a separate basin is a simple, effective barrier. It isolates your baby's feeding equipment from household germs, ensuring the cleaning process starts in a controlled, hygienic environment.
Just keep a small basin next to your sink. This creates a safe zone and gives you a designated spot to drop all the disassembled parts after you rinse them. This little system not only boosts safety but also makes the whole cleaning process feel more organized and way less overwhelming.
Alright, with your cleaning station ready and the bottle parts laid out, it's time to get scrubbing. A simple swish with soap and water just won't cut it. To really get rid of that invisible film of milk fat, you need the right technique and a good baby bottle cleaning brush.
The main body of the bottle is where you'll focus most of your effort. Milk residue loves to stick to the bottom and the curved "shoulders" just below the neck. I've found the most effective way to tackle this is with a move I call the "plunge and twist."
Start by pushing the brush straight down to the bottom of the bottle. Now, instead of just scrubbing up and down, start twisting the handle like you're using a corkscrew. This forces the bristles to spread out and scrub every nook and cranny, especially the base and those tricky inner curves. Keep this up for a solid 10-15 seconds to make sure you've gotten everything.
Tackling Nipples and Small Parts
The smaller pieces need a bit more finesse. The nipple, in particular, is a magnet for leftover milk, so you have to be thorough. That little nipple brush that usually comes with your main brush? It’s not optional—it’s essential for this part.
Carefully insert the small brush into the feeding hole and give it a few gentle twists. This will clear out any clogs without stretching the silicone, which is important because a damaged nipple can mess with the milk flow for your baby. After that, I always flip the nipple inside out to give the interior a good scrub where milk tends to pool.
Don't forget about the other little parts that are easy to miss:
- The Collar Threads: Milk can get trapped and dry in the screw threads of the collar, creating a perfect spot for germs. Use the tip of your main brush to get right in there and scrub them clean.
- Anti-Colic Vents: For those tiny vents and valves, the nipple brush is your go-to tool. A quick, gentle poke and scrub is all it takes to keep them clear.
Getting the prep right is half the battle. This quick visual breaks down what to do before you even start scrubbing.
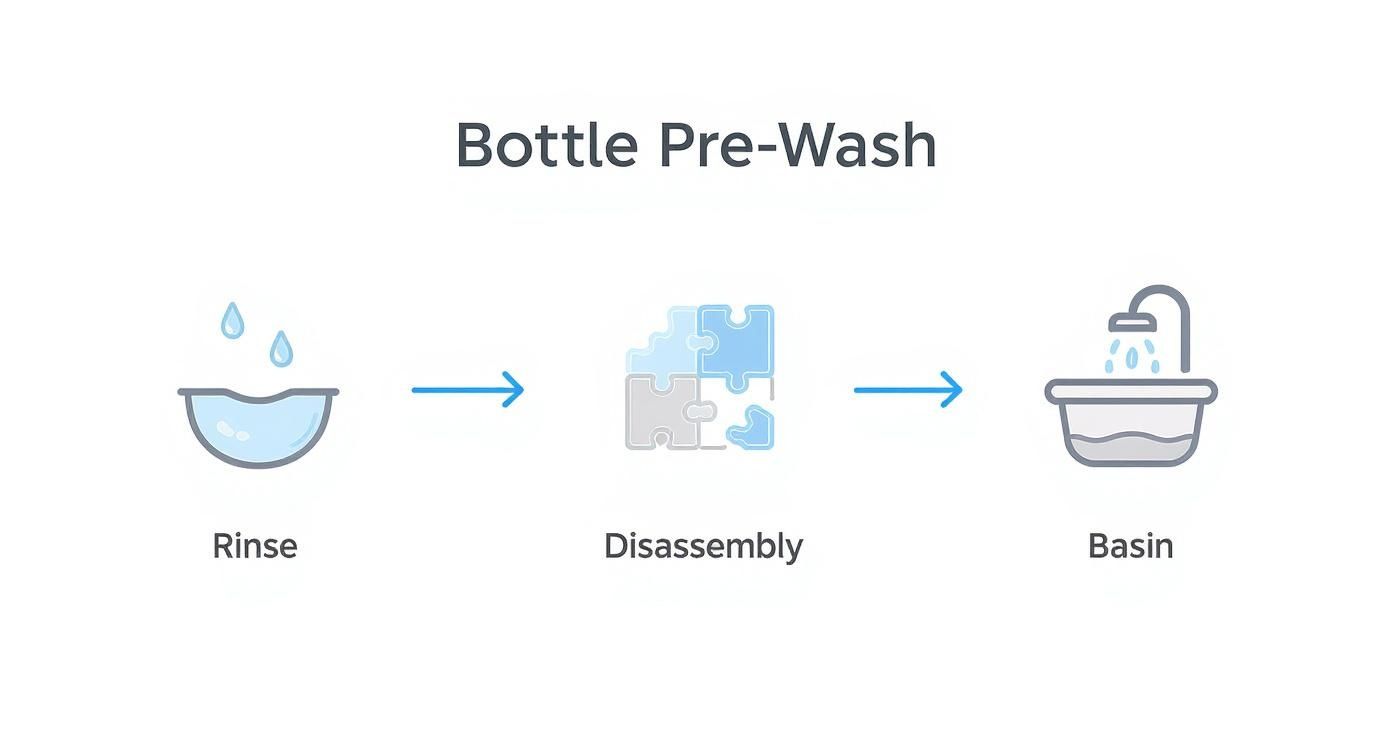
As you can see, a great clean begins before the brush ever hits the bottle. A proper pre-rinse sets you up for a much more effective scrub.
Putting It All Together for a Confident Clean
The goal here is total confidence. You want to know that every single piece is truly clean, not just looking clean. It's all about creating a routine that becomes second nature. Once you’ve scrubbed the bottle, nipple, collar, and any inserts, give everything one last, thorough rinse under hot running water until every last soap sud is gone.
A truly effective cleaning routine addresses every component, no matter how small. The combination of a powerful "plunge and twist" for the bottle and detailed attention to the nipple and threads ensures no residue is left behind.
Of course, the bottle's design itself plays a big role. If you find you're constantly fighting with hard-to-reach corners or complicated parts, it might be time to look for a bottle that's easier to handle. You can check out some of the top-rated baby bottles that other parents love for their straightforward, easy-to-clean designs. At the end of the day, mastering your scrubbing technique brings priceless peace of mind, knowing your baby’s gear is perfectly safe and ready for the next feeding.
Choosing Your Sanitizing Method
https://www.youtube.com/embed/DVltF2_M5yU
After giving everything a good scrub with your baby bottle cleaning brush, the bottles look sparkling clean. But there’s one last critical step: sanitizing. This is what truly gets rid of the invisible germs that can be tough on your baby’s developing immune system.
Think of it this way: scrubbing gets rid of the milk residue that bacteria love to eat, while sanitizing is what actually knocks out the bacteria themselves.
Choosing the right sanitizing method really comes down to what fits your life, your budget, and your preferences. There’s no single "best" way—it's about finding a routine you can stick with. For peace of mind, it helps in understanding the difference between sterile and disinfected when you're deciding on a method.
The Classic Boiling Water Method
This is the tried-and-true approach that parents have trusted for generations. It doesn't require any fancy gadgets—just a large, clean pot and some water. It's simple, incredibly effective, and completely free.
To do it right, place all the clean, disassembled bottle parts into the pot. Make sure you cover them completely with water, ensuring no air bubbles are trapped inside the bottles or nipples.
Bring the water to a full, rolling boil and keep it boiling for at least five minutes. When the time is up, use clean tongs to carefully pull everything out and let it air-dry on a fresh dish towel or a dedicated drying rack.
Electric Steam Sterilizers
If convenience is what you're after, an electric steam sterilizer might be your new best friend. These countertop machines use super-hot steam to kill 99.9% of germs in a matter of minutes. Many even have a built-in drying function, which is a huge time-saver.
Using one is usually a breeze:
- Pour the recommended amount of water (distilled is often best to prevent mineral buildup) into the base.
- Arrange your bottles, nipples, and pump parts on the internal racks, making sure they face down so steam can get inside.
- Pop the lid on, press the start button, and let it work its magic. A typical cycle takes only about 5 to 10 minutes.
The big draws here are speed and simplicity. The trade-offs? They do cost money and take up some valuable counter space.
Peace of mind comes from a consistent routine. Whether you boil, steam, or use a dishwasher, the most important thing is to sanitize feeding gear at least once daily for babies under three months old.
Dishwasher Sanitize Cycles
Got a modern dishwasher? You might already have a powerful sanitizing tool right in your kitchen. Many newer models come with a "sanitize" setting, which uses extra-hot water and a heated dry cycle to eliminate germs.
This is the ultimate set-it-and-forget-it solution. Just be sure to place all your dishwasher-safe bottle parts on the top rack. A small, closed-top basket is perfect for keeping nipples, rings, and other little pieces from falling through.
Just load it up, select the sanitize cycle, and you’re done. If you'd like to explore more options, check out our guide on easy methods for sterilizing baby bottles and pacifiers.
Keeping Your Cleaning Tools Clean
It’s one of those things that’s easy to forget: the tool you use for cleaning needs to be clean, too. A grimy baby bottle cleaning brush can become a tiny vehicle for the very bacteria you’re trying to scrub away, potentially spreading germs from one bottle to the next.
Think of it this way—you wouldn't wash your dishes with a dirty sponge. The same logic applies here. Making a quick brush-cleaning routine part of your bottle-washing process is a simple but crucial step.
After every cleaning session, give your brush a good, thorough rinse under hot running water. You want to blast away any lingering milk residue or soap scum. Squeeze out the excess water, and if you're doing a big sanitizing run, toss the brush in with your bottles—either in the dishwasher (top rack is best) or your sterilizer.
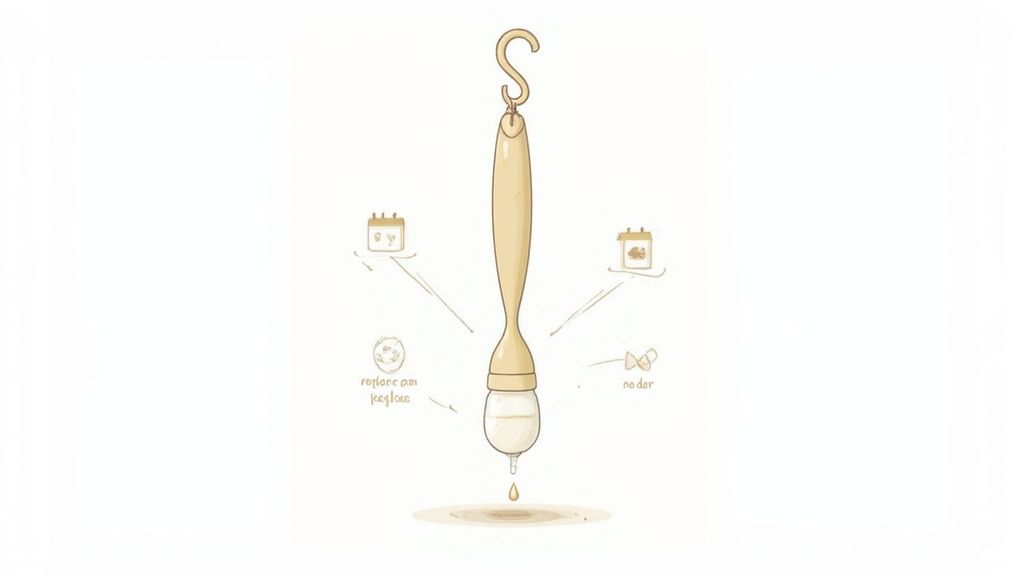
Drying is where you really win the battle against germs. A damp brush tucked away in a dark drawer is a perfect breeding ground for mildew and other unpleasant things. Always let your brush air dry completely. The best way is to stand it upright in a utensil caddy or hang it from a hook where air can circulate all around the bristles.
Knowing When to Replace Your Brush
Even with the best care, your bottle brush won’t last forever. The bristles eventually bend, fray, and lose their scrubbing power, making them less effective against that stubborn, filmy milk residue. A quick visual check every now and then is all you need to know when it's time for a new one.
Think of your brush as a key piece of safety equipment. Using a worn-out or dirty brush is a hygiene risk you don't need to take. A quick inspection before each use is a simple habit that protects your baby.
As a rule of thumb, plan on replacing your brush every 30 to 45 days. However, you should definitely toss it sooner if you spot any obvious signs of wear and tear.
It's helpful to know exactly what to look for when inspecting your brush. A worn-out brush doesn't just clean poorly; it can harbor bacteria, defeating the whole purpose of your cleaning routine.
Brush Replacement Checklist
| Sign of Wear | What It Looks Like | Why It's a Problem |
|---|---|---|
| Frayed or Matted Bristles | The bristles are bent, flattened, or clumped together and no longer spring back into shape. | Flattened bristles can't reach into the bottle's corners and crevices, leaving milk residue behind. |
| Persistent Odor | A sour milk or musty smell that lingers even after a thorough cleaning and drying. | This is a sure sign that bacteria or mold have embedded themselves deep within the brush fibers. |
| Discoloration or Mold | You see visible dark spots, stains, or any fuzzy growth on the bristles or handle. | This is a major hygiene red flag. The brush is actively contaminated and must be discarded immediately. |
Keeping an eye out for these signs ensures your cleaning tools are always up to the job of protecting your baby's health.
This focus on hygiene extends beyond just the brush. For instance, if you're battling stubborn smells elsewhere, learning how to eliminate odors from your washing machine can make a big difference in your home's overall cleanliness. The growing awareness around these practices is clear, with the baby bottle cleaning brush market projected to hit USD 250 million by 2033.
This same diligence applies to all your feeding gear. For tips on other essential equipment, our guide on how to clean your breast pump offers detailed instructions for keeping those vital parts safe and sanitary.
Got Questions About Bottle Cleaning? We've Got Answers
Even when you feel like you've got the hang of it, questions about cleaning baby bottles can pop up. Whether you're battling a mysterious cloudy film or wondering which baby bottle cleaning brush is the right one, let's clear up some of the things parents ask most.
Can I Just Use My Regular Dish Brush?
It’s tempting to grab whatever brush is by the sink, but please don't. Your regular kitchen brush has seen it all—greasy pans, leftover food, and all sorts of kitchen grime. That's a surefire way to introduce unwanted bacteria into your baby's bottles.
Besides the hygiene risk, that old dish brush just wasn't made for this job. The bristles are usually way too harsh for soft silicone nipples, and its clunky shape won't get into the nooks and crannies of a bottle. A dedicated bottle brush is a small price to pay for your baby's safety and your own peace of mind.
How Do I Get Rid of That Cloudy Film on Plastic Bottles?
Ah, the dreaded cloudy bottle. It's a super common problem, and it usually comes from one of two things: mineral deposits from hard water or a stubborn film of milk fat that soap and water alone couldn't cut through.
If you're dealing with a persistent haze, here’s a little trick that works wonders:
- Mix up a soaking solution of one part white vinegar to two parts hot water.
- Let the bottles (taken apart, of course) sit in the solution for about 30 minutes.
- After their vinegar bath, give them a really good scrub with your bottle brush and hot, soapy water.
The real secret, though, is prevention. A good, vigorous scrub after every single feeding is the best way to stop that film from ever building up.
Are Silicone Bottle Brushes Better Than Nylon Ones?
This is a classic debate, and honestly, there's no single right answer. It really comes down to what you prefer and what your cleaning style is. Both silicone and nylon brushes have their pros and cons.
| Brush Type | What's Great About It | Things to Consider |
|---|---|---|
| Silicone Brush | It’s super durable, non-porous (so it resists bacteria), and you can easily sanitize it. | Some parents feel the bristles are a bit too soft to get off caked-on milk. |
| Nylon Brush | The bristles give you a tougher, more abrasive scrub that powers through dried-on gunk. | They tend to fray and wear down faster, so you'll probably have to replace it more often. |
So, what's the verdict? If you're great about rinsing bottles right away, a gentle silicone brush will probably work just fine. If bottles sometimes end up sitting in the sink for a bit (we've all been there), the extra scrubbing power of a nylon brush might be your best friend.
The Centers for Disease Control and Prevention (CDC) recommends sanitizing feeding items at least once daily for infants under three months, those who were born prematurely, or any baby with a weakened immune system.
For healthy, older babies, a thorough cleaning with hot, soapy water and a dedicated baby bottle cleaning brush after each feeding is typically enough. But that daily sanitizing step offers an extra layer of protection that can really put a new parent's mind at ease. At the end of the day, a consistent routine is what truly matters.
At MoogCo, we know that every little detail of caring for your baby matters. For breastfeeding moms who need natural, chemical-free comfort, our Original Silver Nursing Cups provide incredible relief and protection between feedings. See how they can transform your nursing experience. Learn more about MoogCo’s Silver Nursing Cups.
Bring this guide home with $15 off.
Use code BABY15 for $15 off →
Frequently Asked Questions
How Often Should I Replace My Baby Bottle Cleaning Brush?
Replace your bottle brush every 30 to 45 days, or sooner if you notice frayed bristles, discoloration, or a musty smell. Over time, bristles lose their stiffness and can harbor bacteria even after washing. A fresh brush ensures you're getting the most effective clean possible for your baby's bottles.
Should I Clean My Bottle Brush After Every Use?
Yes, absolutely. After scrubbing your bottles, rinse the brush thoroughly under hot water to remove all soap and milk residue, then shake off excess water and store it bristle-side up in a well-ventilated spot. This allows it to air dry completely between uses and prevents mold or bacteria from growing on the brush itself.
Can I Put My Bottle Brush in the Dishwasher?
Many bottle brushes are dishwasher safe, but always check the manufacturer's instructions first. Place it on the top rack to avoid direct heat exposure that might warp the handle or melt the bristles. Dishwashing is a great way to give your brush a deep clean once or twice a week.
What's the Best Water Temperature for Washing Baby Bottles?
Use warm to hot water with soap for the actual scrubbing, not the pre-rinse. Hot water helps dissolve milk fats and activates the dish soap for a more effective clean. Just remember that initial rinse should be lukewarm to prevent proteins from cooking onto the bottle surface.
Do I Need to Sterilize Bottles After Every Wash?
For healthy, full-term babies, sterilizing after every wash is not necessary once your little one is a few months old. A thorough wash with hot soapy water and your bottle brush is sufficient for daily use. However, sterilizing is recommended before first use, if your baby is premature or immunocompromised, or if your water supply is untreated.
What Soap Should I Use to Clean Baby Bottles?
Any mild, fragrance-free dish soap works perfectly for cleaning baby bottles. You don't need a special baby soap, though many parents prefer one for peace of mind. The key is using enough soap to cut through milk fats and rinsing thoroughly so no residue remains.
Can I Leave Bottles to Soak Instead of Scrubbing Right Away?
A quick soak in warm soapy water for 10 to 15 minutes can help loosen stubborn residue, but it's not a substitute for scrubbing with your brush. Bacteria can actually multiply in standing water, so never let bottles soak for hours. Always follow up with a thorough brush cleaning.
Is It Safe to Use a Bottle Brush with Scratched or Worn Bristles?
No, worn or scratched bristles are less effective at cleaning and can actually scratch the inside of your bottles, creating tiny grooves where bacteria can hide. If your brush looks tired or the bristles are bent and flattened, it's time for a replacement to maintain the safest feeding environment for your baby.
From Moogco Studio
Printable and personalized nursery essentials. Designed by moms for moms.


About the Editor
Eda Ulger is the editor at Moogco Baby and a mom of two. She curates and edits our guides so every piece is honest, practical, and genuinely helpful for the early days of motherhood.
Quick Answer: A dedicated baby bottle brush is a must-have, not a nice-to-have. Pick silicone if hygiene is your priority, it dries fast and holds less residue than sponge heads, or a soft bristle brush for scrubbing dried milk fat out of narrow bottle necks. Keep it only for baby items, rinse it and stand it upright to dry after every wash, and replace it as soon as the bristles splay or it starts holding odor.